Introduction:
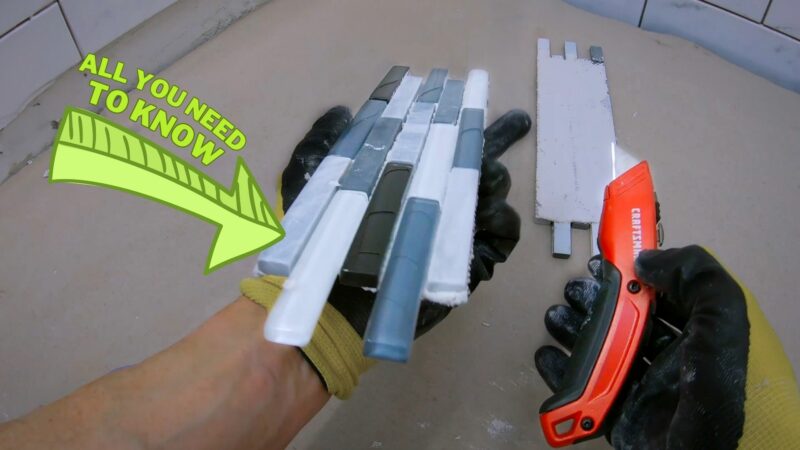
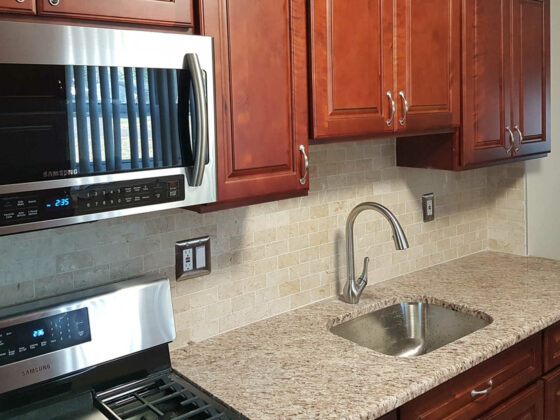
Glass decorative strip tiles can add a touch of elegance and modernity to any space. Whether you’re revamping your kitchen backsplash or enhancing your bathroom walls, installing these tiles is a straightforward process that can be tackled with some patience and the right tools. In this guide, we’ll walk you through the steps to achieve a professional-looking installation.
Materials and Tools Needed:
Before you begin, gather the following materials and tools:
- Glass decorative strip tiles
- Tile adhesive
- Notched trowel
- Tile spacers
- Level
- Tile cutter or wet saw
- Grout
- Grout float
- Sponge
- Sealer (if required)
How To:
Step 1:
Prepare the Surface Ensure that the surface where you plan to install the glass decorative strip tiles is clean, dry, and smooth. Repair any cracks or imperfections and remove any existing tiles or adhesive if needed.
Step 2:
Layout and Planning Plan the layout of your tiles before starting the installation. Use a level and draw guidelines on the wall to ensure a straight and symmetrical design. This step is crucial for achieving a professional finish.
Step 3:
Apply Tile Adhesive Using a notched trowel, apply a thin layer of tile adhesive to a small section of the wall. Work in manageable sections to prevent the adhesive from drying before you can install the tiles.
Step 4:
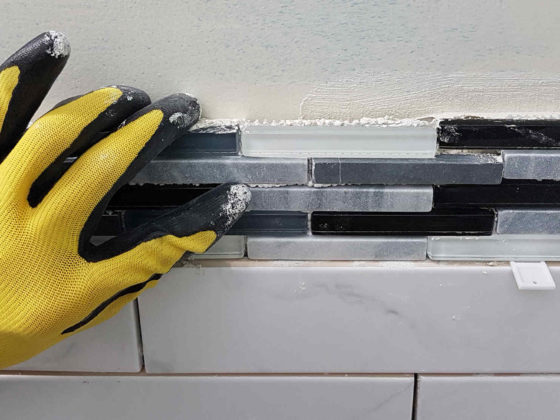
Install the Tiles Place the glass decorative strip tiles onto the adhesive, following the layout you planned. Press each tile firmly into place, and use tile spacers to maintain consistent gaps between tiles. Check the level periodically to ensure that the tiles are aligned correctly.
Step 5:
Cut Tiles as Needed Use a tile cutter or wet saw to cut tiles at the edges and corners as necessary. Measure and mark the tiles before cutting to achieve accurate and clean cuts.
Step 6:
Allow Adhesive to Set Allow the adhesive to set according to the manufacturer’s instructions. This typically takes 24 hours. Avoid disturbing the tiles during this time.
Step 7:
Apply Grout Once the adhesive is fully set, use a grout float to apply grout between the tiles. Press the grout into the gaps and remove excess grout from the tile surfaces. Follow the grout manufacturer’s instructions for drying and curing times.
Step 8:
Clean and Seal After the grout has set, use a damp sponge to clean any grout residue from the tile surfaces. If your glass decorative strip tiles require sealing, apply a suitable sealer according to the manufacturer’s recommendations.
Conclusion:
Installing glass decorative strip tiles can be a rewarding DIY project that transforms the look of your space. By following these steps and paying attention to detail, you can achieve a professional and visually stunning result that will enhance the beauty of your home.

