If you ever faced any plumbing issue in your kitchen or bathroom drains, you might have heard about the usage of plumber’s putty. Here we are going to take a look at everything you need to know about it including its usage, advantages and when not to use it.
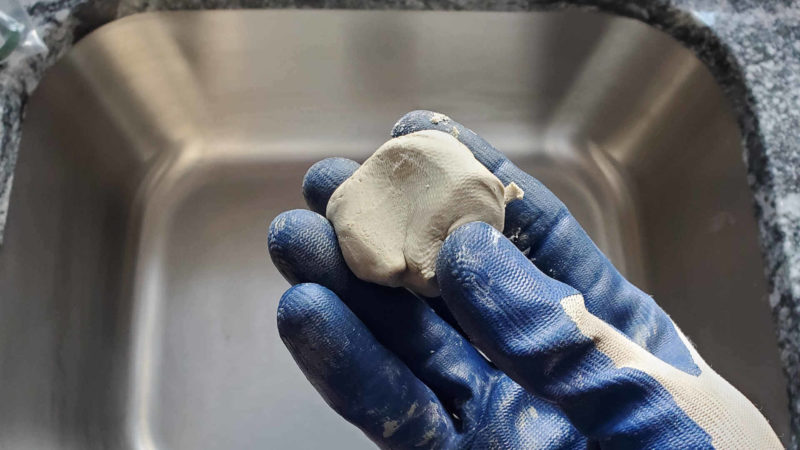
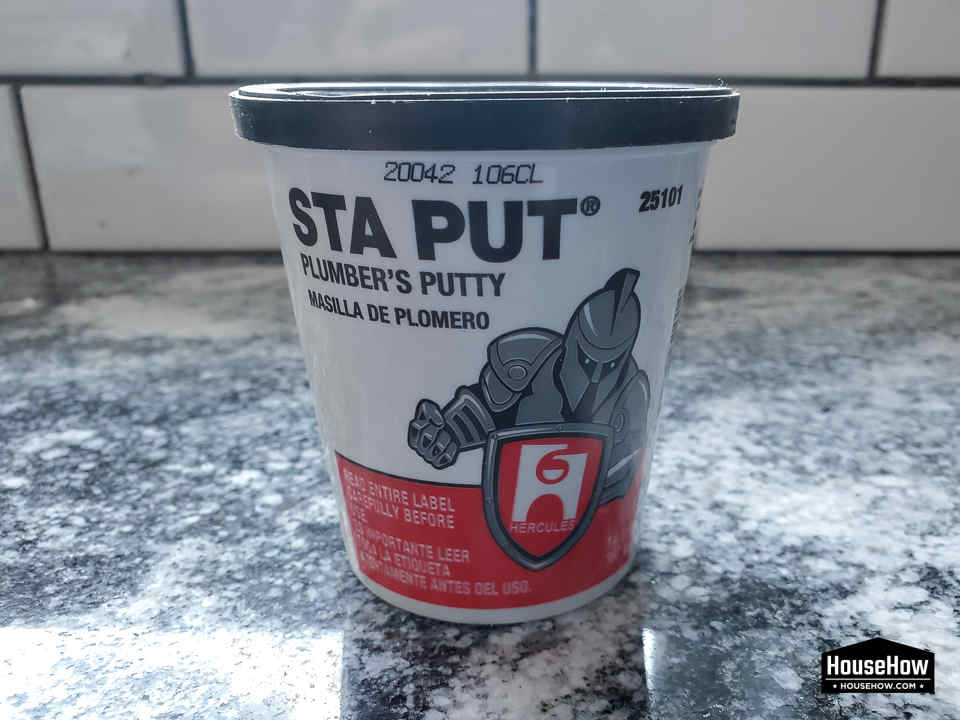
What is plumber’s putty? It is a soft, Play-Doh type substance used as a sealant for faucets, sink drains and other areas prone to leaking or seepage. It is very effective when it comes to sealing areas that have a good amount of exposure to water (not pressurized) as it efficiently prevents leakage completely.
If you have ever removed a faucet, you might have seen a dried up clay-like substance at the bottom. Over time, it becomes hard but during the time of application, it has a soft, clay-like consistency. Now that we know what plumber’s putty is, let’s take a look at its components, usage and application.
What is it made of?
There are different blends of plumber’s putty out there with their unique formula of ingredients but the most commonly used ingredients are powdered clay and linseed oil. Some even use limestone, talc or fish oil blends too as different brands come up with different variations. On its own, it’s not toxic but if certain ingredients are used, it may make the putty toxic.
Whenever I buy a tub of plumber’s putty, I always make sure that I read the label to make sure no toxic ingredients are used. For instance: crystalline silica is known to be harmful and is a component I always avoid when I look for plumber’s putty.
To get a more comprehensive list of harmful ingredients, you can just do a quick Google Search and avoid buying a product that uses them in their composition. I also keep the tub stored safely in my cupboard where my kids can’t get it. Due to its play-doh type consistency, small kids may mistake it for clay and play with it. If you have small kids, make sure they never touch it.
Ideal application for plumber’s putty
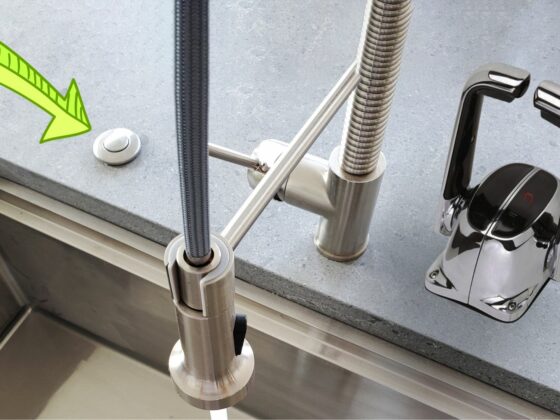
The most commonly used application of plumber’s putty is for faucets, pop up drains and sinks. It is also called as “sink drain putty” as it’s designed to help with only specific plumbing issues. It can stop small leaks from occurring but not in all situations such as sealing pipes that carry pressurized water. It is usually applied before installing the sink or faucet to save time and effort and put on the upper part of the drain due to its waterproofing properties. This portion is called the “basket drain” and the putty is applied by rolling it into a narrow snake-like shape around the circumference of the drain.
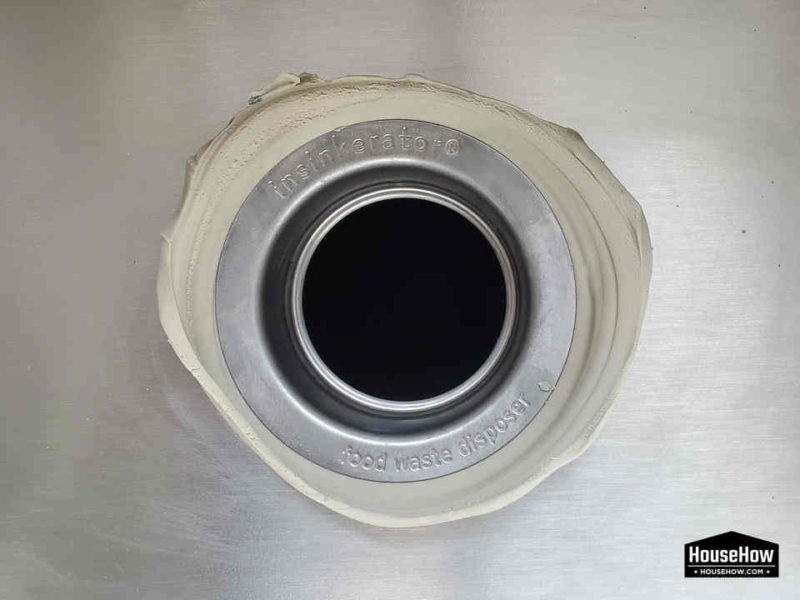
Once applied, it is then pressed gently which allows any extra putty to be squeezed out and removed with a damp piece of cloth. Application of plumber’s putty to a faucet also follows a similar procedure and is always done before installation. When I applied plumber’s putty for the first time, I was disappointed at seeing how much putty went to waste and I didn’t know it was ok to put it back into the tub and reuse it later, but yes you can.
The two main things to keep in mind when applying plumber’s putty are as follows:
- Clean surface – It is vital to clean the surface thoroughly to get rid of any undesirable particulates as they can lead to holes in the putty over time. I always wipe down the surface with a wet rag first and then a clean, dry cloth before applying any putty. This is a very important step and you should never ignore it as it will lead to repercussions in the future.
- Importance of heat – As plumber’s putty is a soft, clay-like substance, heat is an important component when it comes to its application. So before applying it, it will be very beneficial to make sure your hands are warm. I always rub both my hands together for some time before I start applying the putty.
How is it beneficial from other sealants?
It’s one of the most basic and essential tools in a plumber’s arsenal and is used all over the world for preventing leakages. Even though today silicone caulks are used for the same purposes, plumber’s putty can be easily removed whenever you want as it isn’t an adhesive. It also remains soft long after you apply it which also makes it easier to remove. Even if it becomes hard, you can chip it away without too much time or effort.
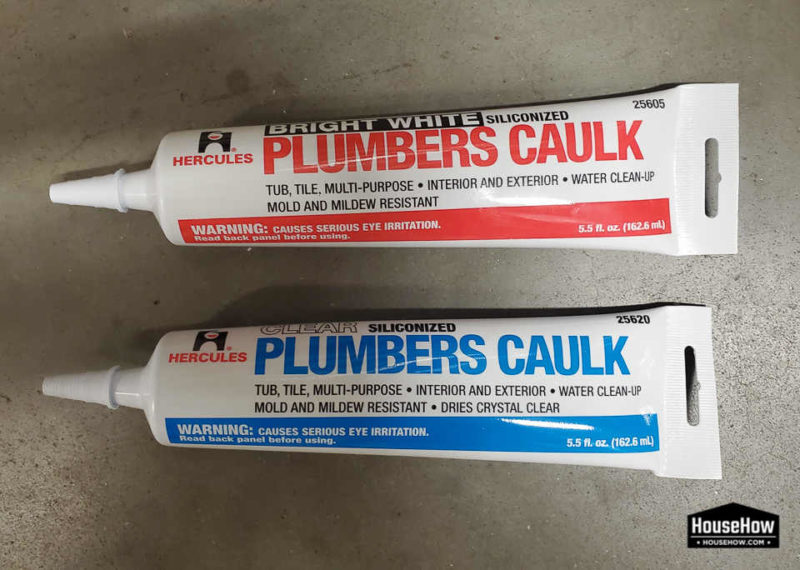
Silicone caulk is very effective as a sealant but it’s more of a permanent fixture as it’s quite difficult to remove once applied. It’s also not dense like plumber’s putty which makes it inferior when it comes to filling up large gaps. I had once accidentally used silicone caulk for my sink and it was a huge pain to get rid of it later. So never apply a sealant without knowing about its consequences. To know more about this issue, let’s check out the main pros and cons of both sealants.
Plumber’s putty
Pros
- It’s very easy to apply and doesn’t require any plumbing experience
- You don’t have to dry it artificially
- Very effective in preventing leakage
- It remains soft for a long time
- It can be removed fairly easily even after it has dried up
Cons
- It doesn’t have any adhesive properties
- Shouldn’t be used on plastic pipes or metal threaded pipes
Silicone caulk
Pros
- It has great adhesive properties
- It never cracks
- It can be used as a permanent solution
Cons
- It’s very difficult to remove
- It’s very sticky to the touch and leaves a bit of a mess
- It can leave a stain
The right way to apply plumber’s putty
- The steps below detail the proper way to apply plumber’s putty if you ever find yourself in an emergency situation where you can’t wait for the plumber to come and help. From personal experience, I can tell you how convenient it was that I had a tub of plumber’s putty lying around when I first had to use it.
- First, you need to scoop out the required amount of putty from the container with your fingers. You can use gloves if needed but it isn’t necessary.
- Then you have to roll it in your hand to make it into a long shape. The length of this shape will depend on the size of the part where you need to apply it but it is always wiser to make it longer. You also have to make sure the thickness is consistent so that the gap can be closed properly.
- Now apply the putty to the part you want to seal off across its circumference. If the amount of putty isn’t enough, it’s better to start from the beginning rather than applying more putty on top as consistency will go haywire.
- Once it is applied around the specific area, then you have to press it gently to prevent it from becoming loose later. If you apply too much pressure, then it won’t be able to seal the gap properly.
- After the putty has been pressed, you can continue to install the part. Once you tighten the part, any extra putty will be squeezed out which you can remove with a damp rag. Feel free to put the extra putty into its container as you don’t want to unnecessarily waste it.
If you still have any doubts regarding the proper application of plumber’s putty, you can check out some videos online to make sure that you don’t make any mistakes. They really helped me out a lot when I first started using plumber’s putty. One of the best aspects of plumber’s putty is how quickly you can use your faucet or sink after application. You can use your sink or faucet almost immediately as there is no drying time.
Tips to best use plumber’s putty
To ensure that you always get the best results from applying plumber’s putty, you need to do the following:
- Before using it, make sure it feels soft and pliable to the touch. If it feels hard or has cracks in it, then the putty has dried up. In this case, always go for a new container of putty. It’s very affordable and easily available.
- After using the putty, you have to tighten the lid properly to keep it soft for as long as possible. Usually putty takes several years to dry up but you still don’t want to quicken the process.
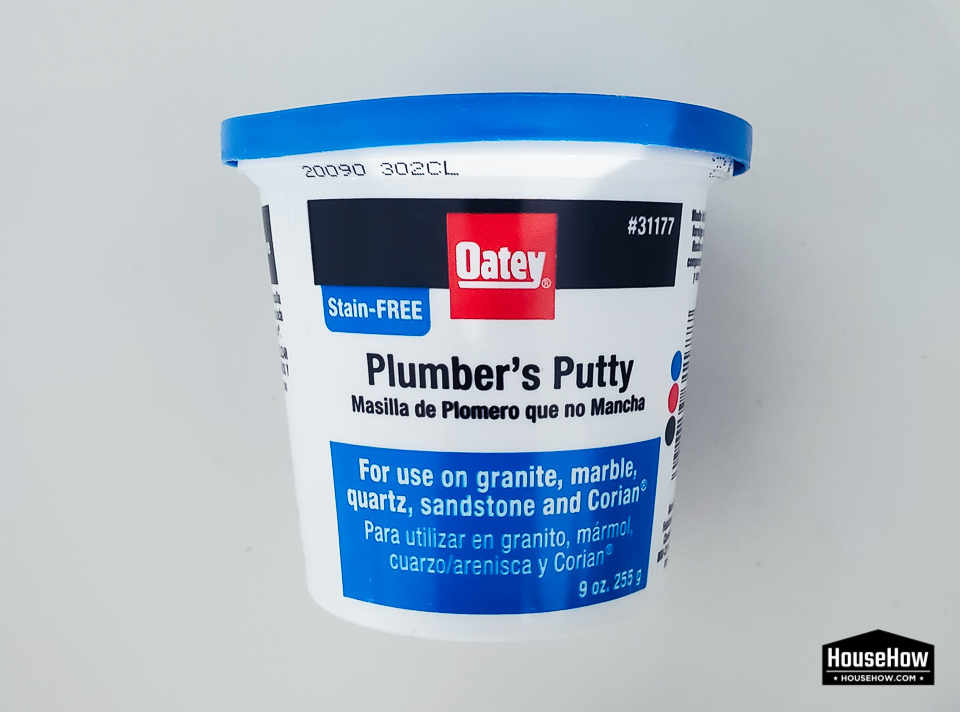
- Always read the label on the container before applying the putty. This is something I cannot stress enough. Some brands are not suitable for all surfaces and so if you end up using it, you might get stains. This is especially true when it comes to granite and marble surfaces. If you do have porous surfaces, then you have to go for a different sealant option.
Why you should not use plumber’s putty on plastic pipes
Although plumber’s putty is versatile, it does have its fair share of limitations and one of them is its usage regarding plastic pipes. Petroleum-based putty breaks down the chemical structure of plastic which makes the material lose its durability over time. This effect becomes worse when the plastic parts are under tension consistently which leads to leaking. So instead of sealing the part, you will end up with a bigger issue. So for fixing plastic shower drains, it would be better to use silicone caulk instead.
When should you not use plumber’s putty?
Given below are some of the times when you should not use plumber’s putty.
- Sealing any joints in plastic or metal threaded pipes
- Sealing plastic pipes
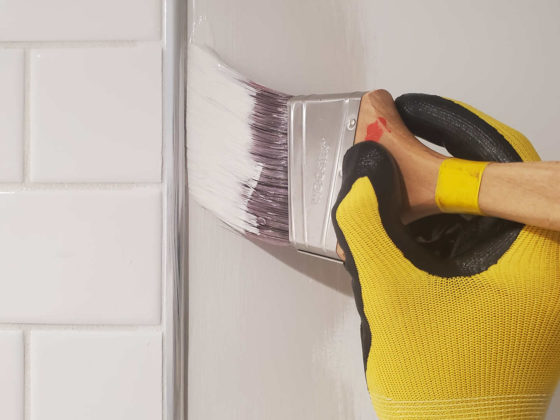
- Sealing gaps between your sink and the wall behind
- Sealing sinks made out of porous materials
In such cases, it would be better to go for alternate sealing solutions such as silicone caulk, cement, Teflon tape and so on. When it comes to closing gaps between your sink and the wall and sealing porous sinks, it would be better to go for silicone caulk. Sealing joints for metal or plastic threaded pipes can be done with the help of Teflon tape and joining non-threaded plastic pipes can be done with cement.
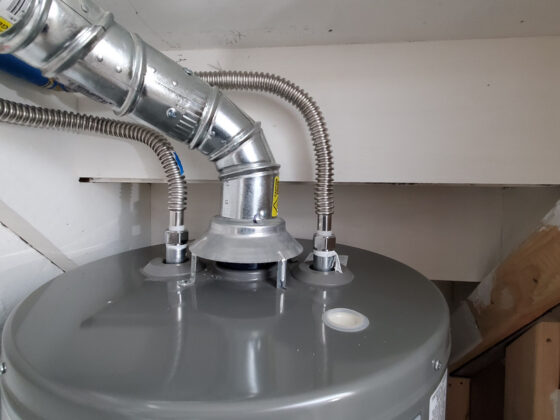
When it comes to different sealants like Teflon tape or plumber’s putty, there is no way to compare the efficiency of both. Each type of sealant has its own uses and comes with unique advantages and disadvantages. There is no way you can substitute one for the other. Teflon tape, for example, is used more for sealing pipe joints that carry pressurized gas or liquid whereas plumber’s putty is used to get more water resistance and should never be used when pressurized water is involved.
Making plumber’s putty at home
Here is how you can do it.
- First, you need to put down the wax paper over your table and make sure you tape it down securely.
- Take 16 ounces of white modeling clay and mold it in such a way that there is a small depression at the middle into which you will have to pour about a quarter cup of linseed oil. You will need the remaining amount of oil later so keep the bottle nearby.
- Once you have poured the oil into the bowl-shaped clay, leave it there for 2 to 3 hours before mixing it.
- Then take 2 tablespoons of powdered limestone and proceed to mix the clay again. Make sure you mix it properly as you don’t want any pockets of limestone left behind.
- After it has been mixed thoroughly, add the remaining amount of linseed oil and mix it again. Once that is done, you can take the putty and store it in the empty container.
If you do make it at home, make sure you wear gloves and a dust mask and handle all ingredients with extra care.
Related questions
How to remove plumber’s putty properly?
As it isn’t adhesive, it is relatively easy to remove putty even after you apply it. If the putty has been in place for several years, then you can break up the hardened putty using a little bit of pressure. After that, you can just remove the extra putty using your fingers or by using a putty knife. Once the putty is removed, there might be some linseed oil left which you can remove by either scrapping it or by using soap and water. After this, if you still find some residue left, you can use a thinner or spirit with a rag to remove it. It might feel a bit messy when you first start using the putty but over time you’ll be able to do it much more efficiently.
Should I use plumber’s putty or silicone?
It mainly depends on the application but more people use plumber’s putty because it provides a watertight seal without making it a permanent solution. So in the future, if you want to remove the putty, you can do so in very little time and effort. On the other hand, if you are looking for a permanent fix and have a sink made out of porous materials like granite or marble, then silicone would be a better option. It’s also very important to note that putty should never be used for sealing threaded pipe fixtures or plastic pipes.
What are a few good sealants other than plumber’s putty?
Some of the good alternatives to plumber’s putty are Loctite Tube Plumber and Marine Adhesive, Oatey 25605 Hercules Plumber’s Caulk and Oatey all-purpose cement (for PVC, CPVC or AMS pipes). There are many more great products in the market today and you can do a little bit of research online to find out the one that will best suit your needs.
Will there be a problem if I use too much of plumber’s putty?
This is one of the best advantages of plumber’s putty. Even if you use way too much of it, excess putty will always get squeezed out when you tighten the parts. You can then just collect it and store it back in the container for later use. Not many sealants can do that and this allows plumber’s putty to give you more value for money.
Can I make plumber’s putty at home?
Yes, you can make it at home, although the quality will depend on how well you follow the process. You will need a dust mask, gloves, wax paper, masking tape, linseed oil, powdered limestone, an empty container with an airtight lid and white modeling clay. The process has been explained above. It is very important to note that you should be very careful when handling these ingredients. Also, make sure that you clean your table thoroughly after making it.
Does plumber’s putty harden?
No, but it doesn’t retain the same soft consistency over time. Technically it doesn’t dry but it does dry out if you leave it out in the open or forget to close the lid on the container. Its ability to not harden, shrink, crack or crumble over time is honestly one of its best qualities.
Should I use plumber’s putty with a rubber gasket?
No, you shouldn’t. If your sink has a rubber gasket, it is highly recommended that you use a different sealant and not plumber’s putty. It might lead to the gasket getting corroded overtime not to mention that you won’t be able to fix the issue properly.
Can I paint over plumber’s putty?
Unfortunately, no! Since it doesn’t harden much, it cannot retain paint on its surface properly.
How much is plumber’s putty?
| Product | Price |
| Hercules Sta-Put 14 oz. Non-Mastic Plumber’s Putty | $2.07 |
| Oatey 14 oz. Plumber’s Putty | $2.75 |
| Oatey 9 oz. Stain-Free Plumber’s Putty | $4.47 |
| Hercules 5.5 oz. Plumber’s Caulk | $4.19 |
*Prices as of October 1, 2020
Related community topics
If you have any other questions that are not answered in this article, you can ask them on our Home Improvement Community Forum by clicking on this link.

